The Boat Building Academy in Lyme Regis offered a course in kayak building, taught by Lars Herfeldt. The course was held outside Lyme, at Trill Farm.
http://www.boatbuildingacademy.com/
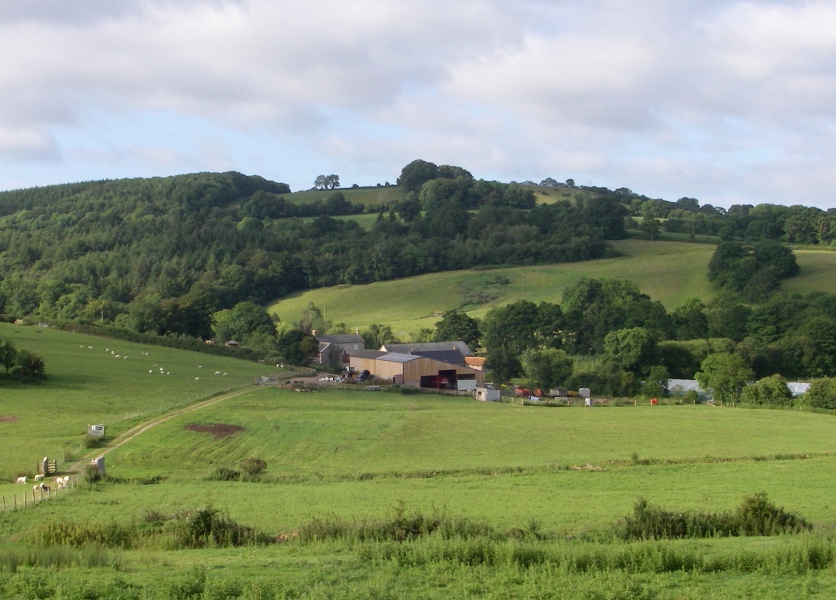
Trill farm seen from the east
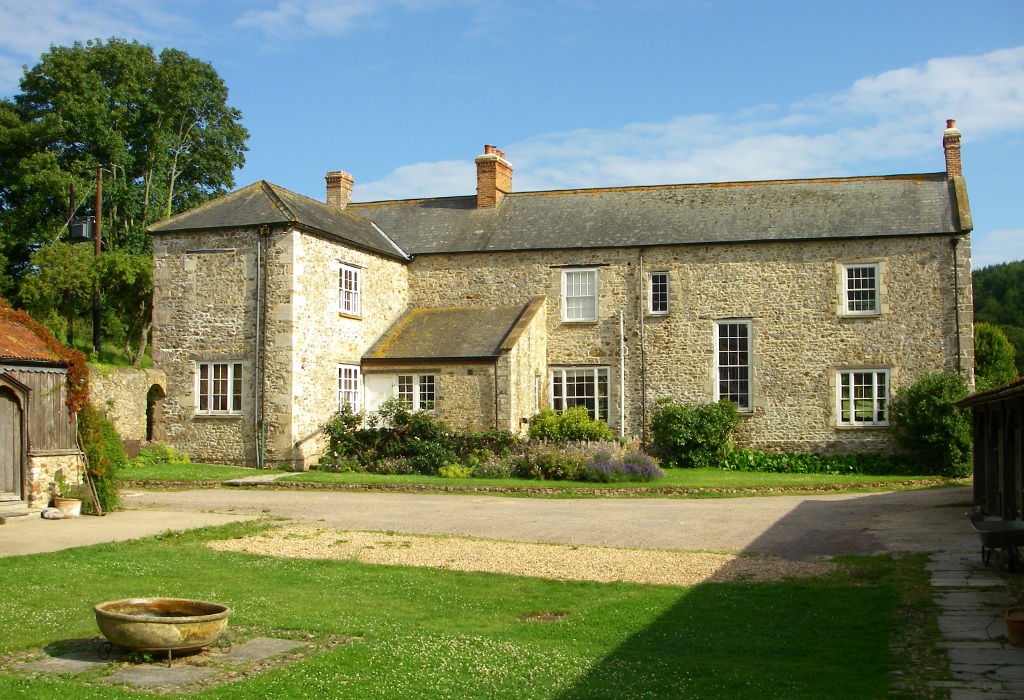
Trill farmhouse, north facade
Specifically, the course was held in its vast ancient barn where our saw and hammer strokes were accompanied by strange fluttering and squeaking from the dim recesses of the roof structure. This was accompanied by a steady rain of shit from the biomass above us, ranging from bats to guinea fowl.
This minor inconvenience was more than compensated by the Trill food of astonishing quality and visual appeal and mostly local growth.
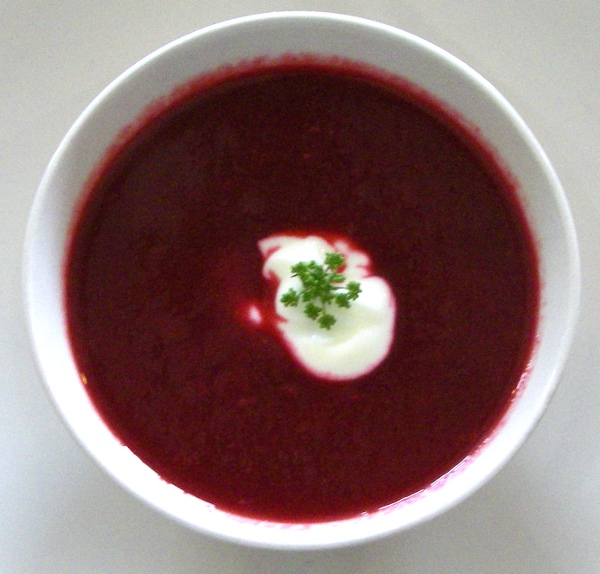
Trill soup
The adjacent farm, Hugh Fearnley Whittingstall’s River Cottage, has a worthy neighbour. Zoe and Romy were the principal kitchen artists.
I won’t describe the whole kayak building process, which is well described in two books which I recommend: C. Cunningham ‘Building the Greenland Kayak’ and F & C Claeys and Huguenin ‘Construire et utiliser les kayaks de l’arctique’. However, our instructor Lars uses some interesting and time saving variations. In particular he spared us much of the calculation and template construction required by the authors mentioned above.
To fix the deck beams we made shallow sloping recesses to provide a step for the beam.
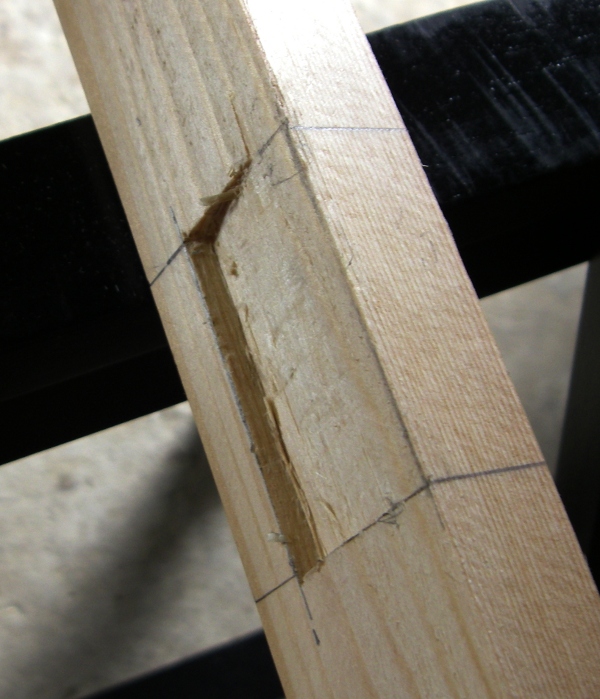
The recess chiselled into the gunwale to receive the deck beam, which is sawn to an angle about half that of the gunwale
The line of the keel was established before the ribs were steamed into shape.

Setting the line of the keel by eye and measurement from the deck beams. The keel ends are clamped to extended bow and stern pieces
The vertical distance between the gunwales and the keel, together with the horizontal distance between gunwales, were combined in a wooden mechanical computer to form a template for bending the ribs.
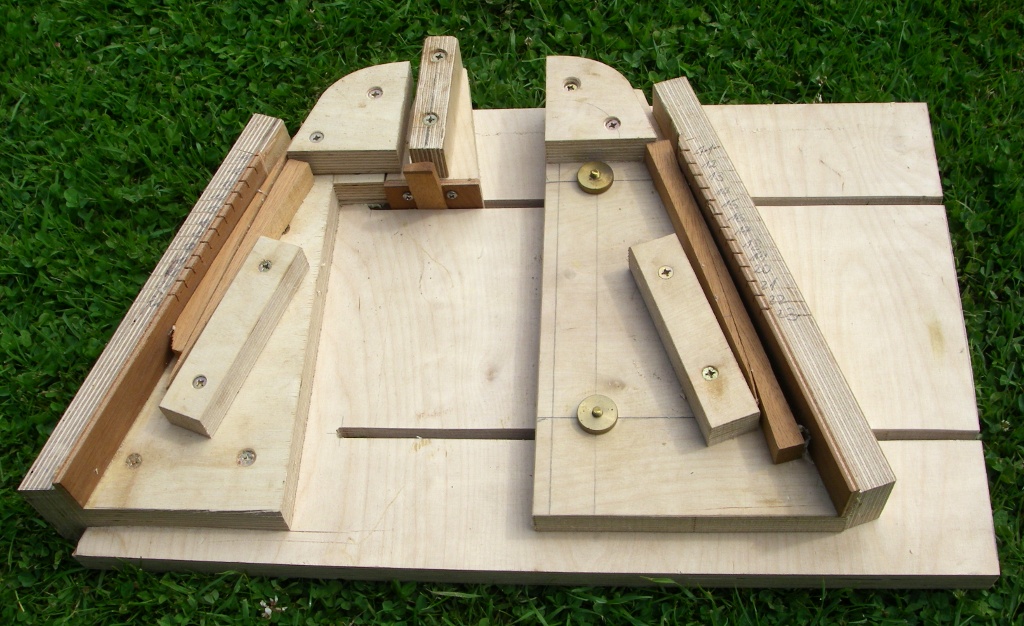
The adjustable template for bending the steam-softened oak ribs
The bent ribs were clipped to the beams to harden, then cut to size so that they just touched the keel.
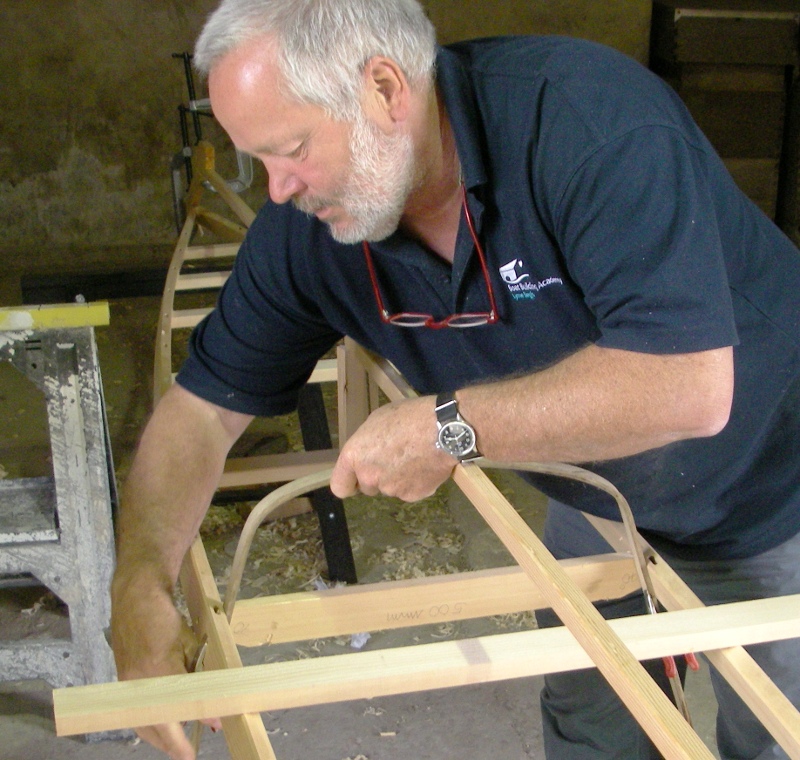
Lars clamping the rib to the inside of the gunwale. It will later be shortened so it fits in the mortices and just touches the keel
Most of the boat was pegged and lashed, with just a few glue joints forming the bow and stern pieces.
Over the first week we built the frame.

Yves (left) and Douglas, enjoying a brief opportunity to work in the sun
We made time to visit some antique woodworking tool emporia in Beer and Colyton. The first time the shops were closed, so we had a beer in Beer.
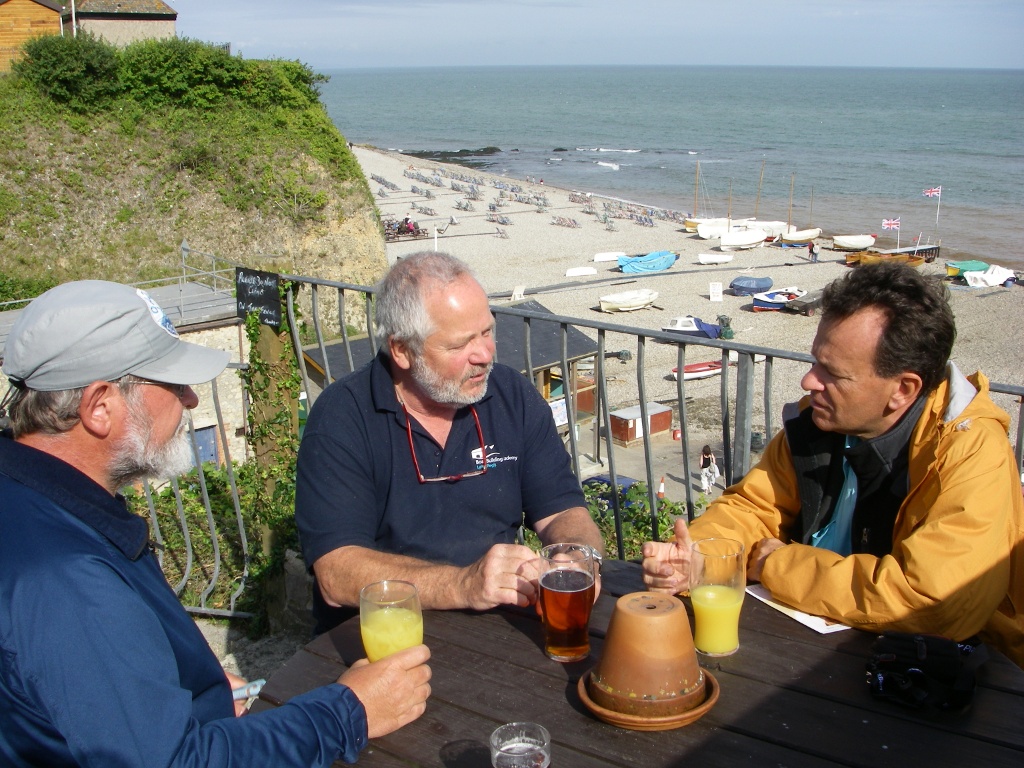
Douglas, Lars and Yves enjoying a break overlooking the pebble beach at Beer
Berliner Lars, having worked for months in the boat building academy, knew the area better than many natives.
I had time to explore the farm, its sheep and pigs and the ancient abandoned railway line from Axminster to Lyme Regis.

A finely crafted bridge over the abandoned railway line from Axminster to Lyme Regis
Then it was time to fit the masik.
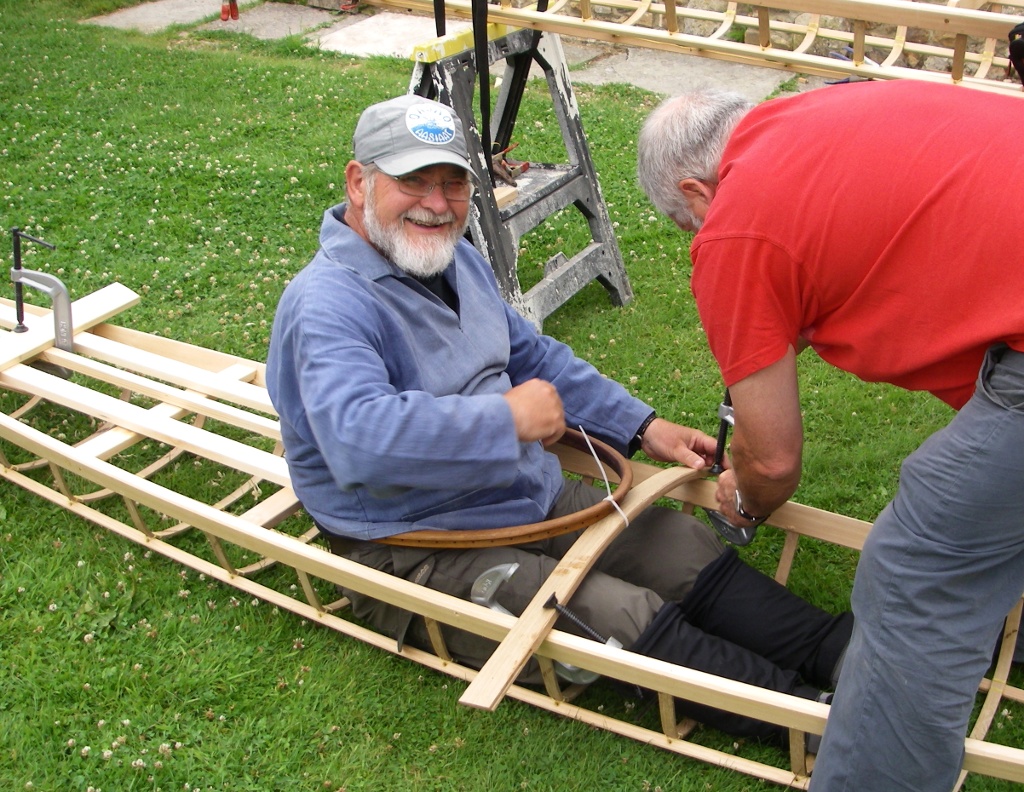
Douglas has stiff knees, so needed a deeper than standard masik
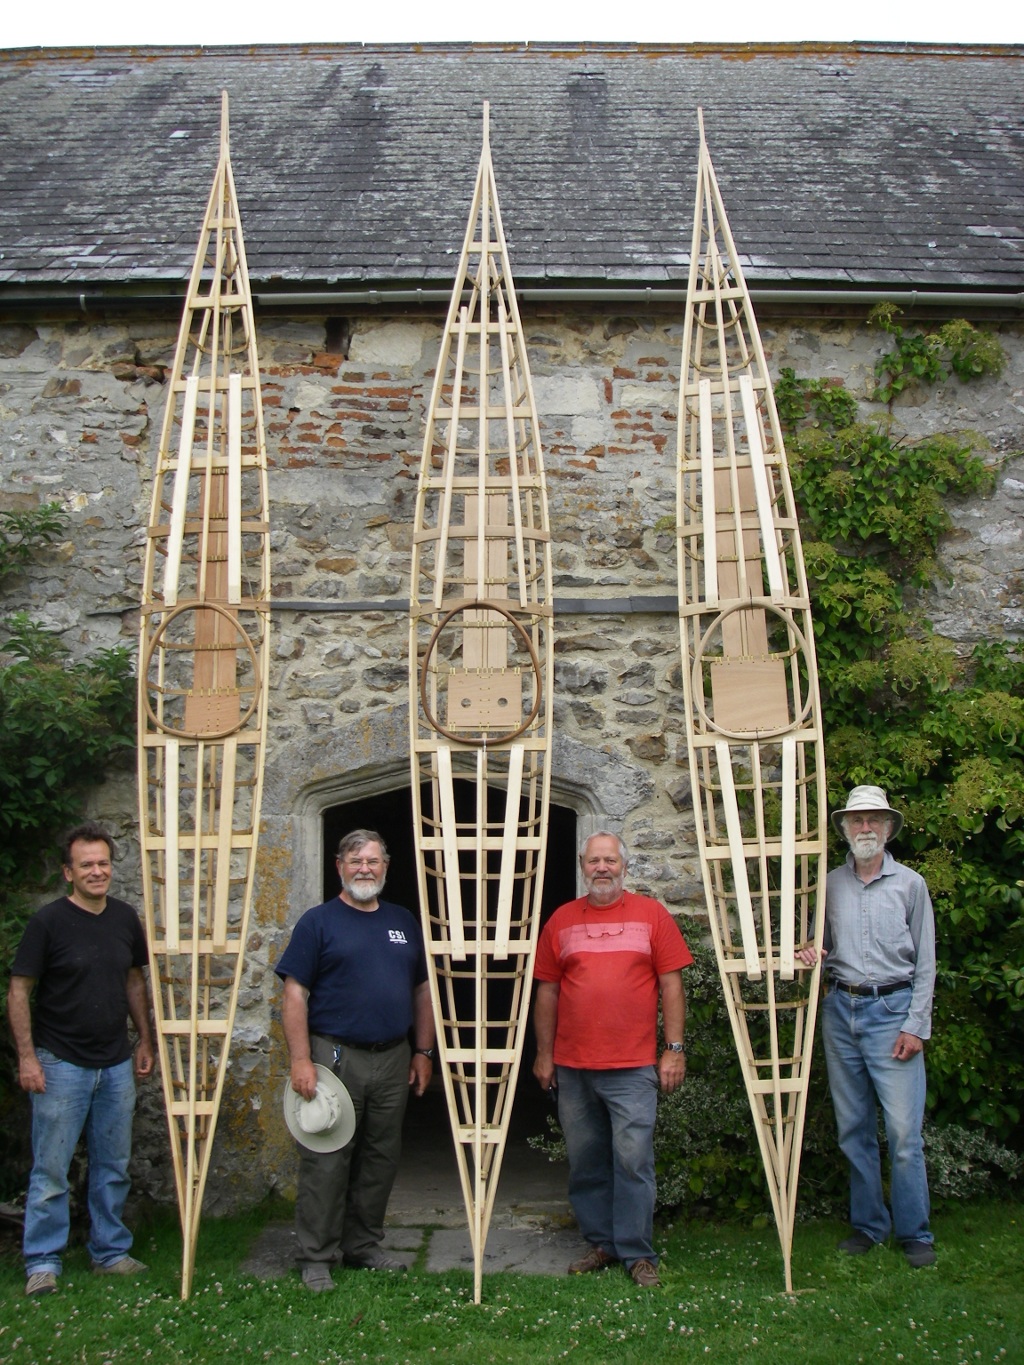
Here we all are with completed frames. From the left Yves, Douglas, Lars and Tim
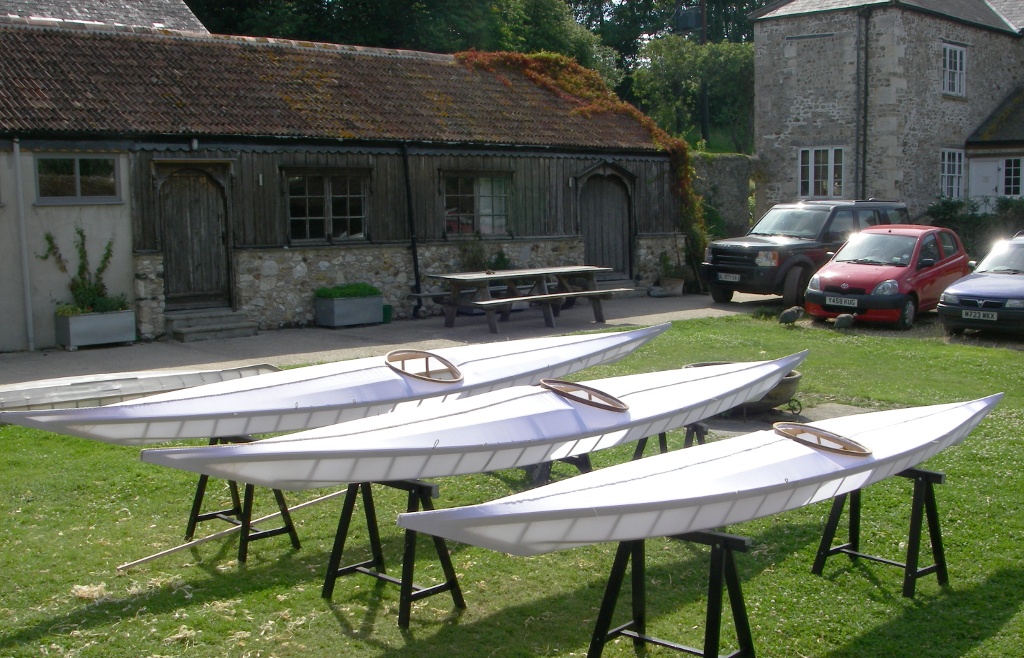
Draping and stretching and sewing the skin was quite time consuming but eventually our boats were shining white in the sunlight
The waterproofing polyurethane would take several days to apply, and then there was the fitting out with strings to hold the paddle for getting in and out, so we took our boats home shrouded in polyethylene. My available space is very small, so I made the kayak slightly shorter than standard so that it would fit diagonally across the family living room.
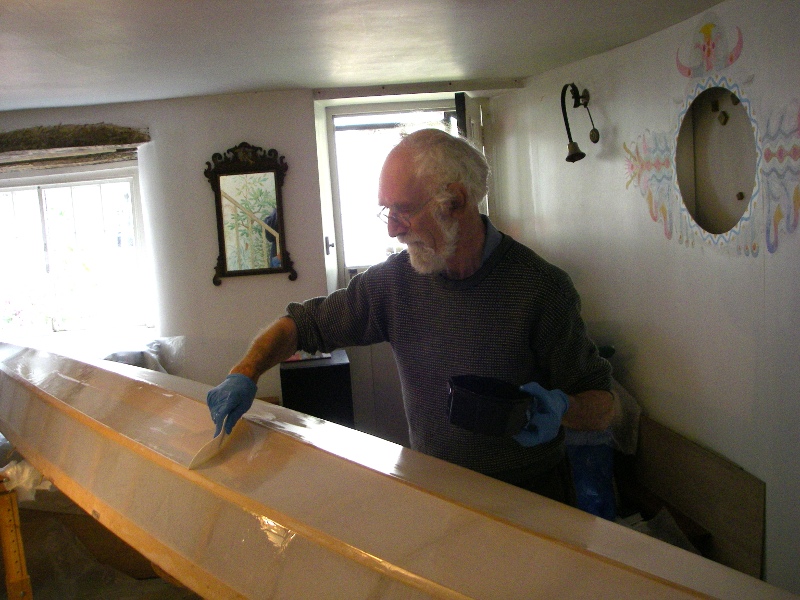
Coating the nylon skin with two part polyurethane, using a squeegee
I have a kind and patient wife but I hastened to finish the job and get the boat on the water.
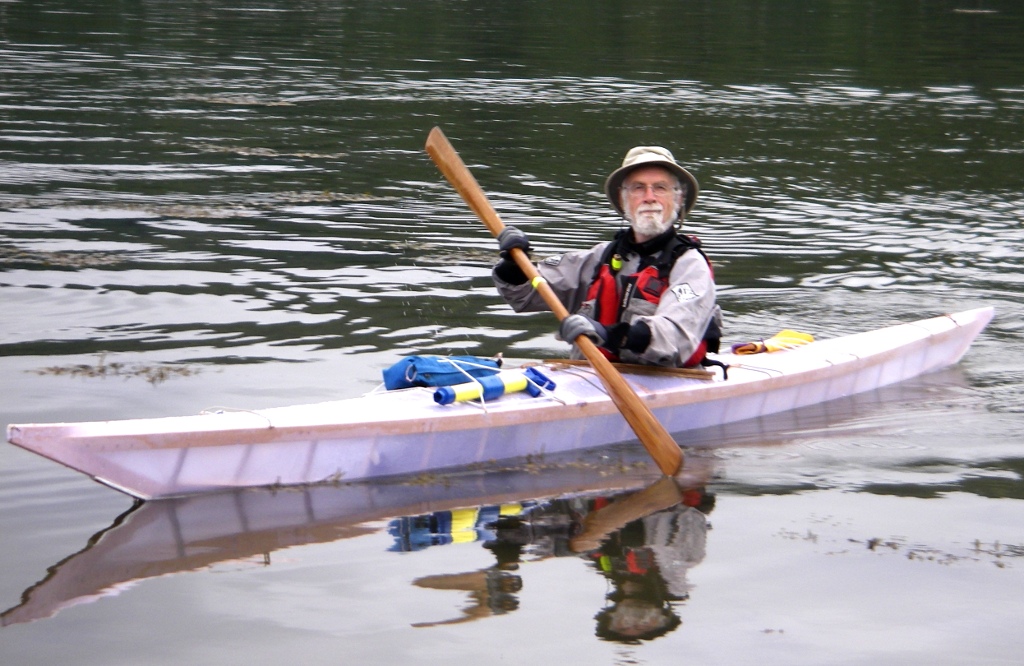
Maiden voyage at Dittisham
The result is a more buoyant boat than I intended, with space for camping gear. It is a bit tippy compared with my P&H Scorpio but the secondary stability is excellent.
I greatly enjoyed the whole process and was fortunate that we were such a diverse but amiable group – a German carpenter, a French airline pilot, a retired Scottish lecturer, an English scientist. A very important contributor to our good humour was the staff of Trill farm, equally diverse in origin and skills. Thanks also to the support team from the academy, bringing materials to our outpost in the hills.
Postscript
After sea trials I have concluded that the boat has very little initial stability, since it jumps from leaning on one chine to the other with very little provocation. The maximum width at the waterline is about 410 mm, which seems to be too narrow. This makes taking photographs an unnerving experience. It handles wind and waves well, with a gentle motion through waves. My real problem is that it is very difficult to roll. My analysis is that the boat is too buoyant for my weight, which is a modest 62 kg. It has approximately 160 mm freeboard, which inhibits rotational agility, considering that the minimum allowed for Greenland rolling competitions is 15 mm. I can lie back flat on the aft deck but I still have to raise my torso about 160 mm above the water without any aid from buoyancy in the water. I have trouble doing this lift even when a companion holds the paddle end firmly. The theoretical ideal of righting the boat with torso buoyed by the water, then sliding onto the back deck seems impossible to do with the sharp angle between the side and the flat deck.
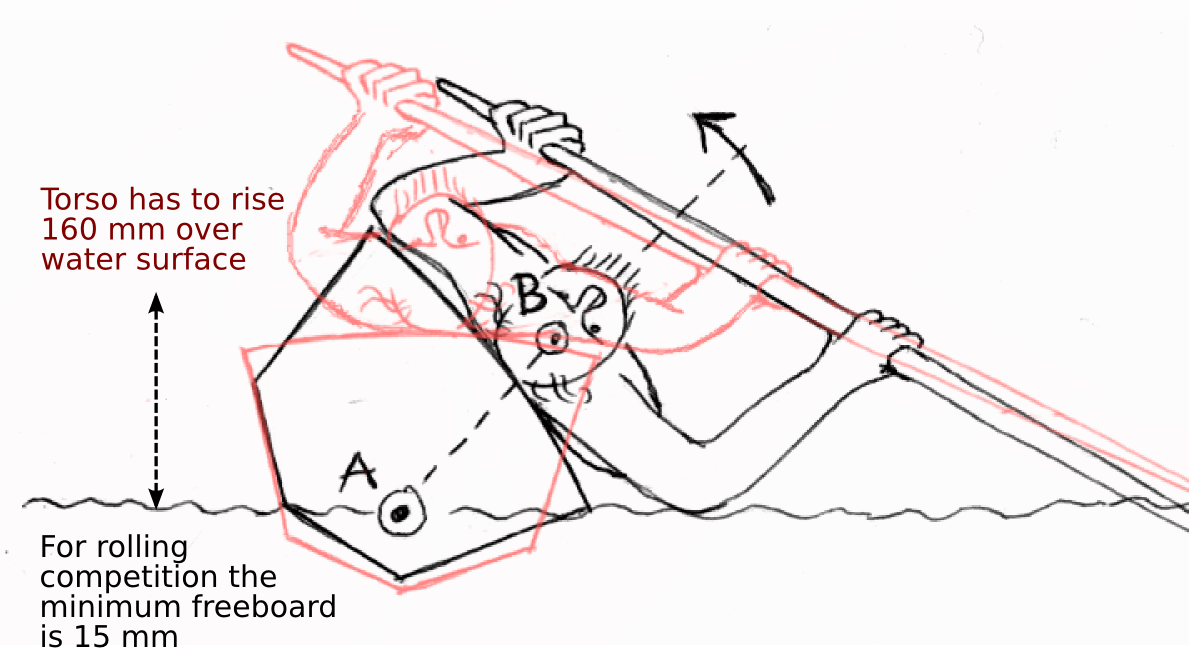
The geometry of the emergence from a lay back roll. The boat rolls around the point A while the centre of gravity of the torso is point B, which has to be raised about 160 mm above the water by rotational momentum or by torque from the paddle in the water. A boat which sits high in the water with a lightweight driver is difficult to roll.
This is disappointing, since I want a lightweight, low volume boat for year round solo paddling on the sheltered Dart estuary, and, in calm weather, along the south Devon coast. I can re-enter with a paddle float, but that is a dangerously slow method in winter. I have compared my boat with measured boats in the literature. The height of the side is towards the high end, but the published measurements do not include the weight of the driver.
I welcome advice from experienced Greenland kayak paddlers. It may be that an autumn job will be bending new ribs to make a lower boat. I have too much space in this one. I expected a more intimate fit.
Postscript 2 (2012 -2-18)
Lowering the seat so my bum sits partly on the canvas has improved the primary stability. Padding the back of the cockpit has made rolling more comfortable and a couple of warm swimming pool trials has increased my confidence in both rolling and paddle float re-entry. A re-enter and roll is not so suitable for a boat without bulkheads – there is too much residual water inside. I will have to make more exactly fitting buoyancy. I still have the problem of the back strap rotating when I slip into the cockpit, so more modification is needed there. A February excursion to a rocky cove has made me think that a dry suit would be a good thing, since I have to disembark and embark in water deep enough that the boat does not bounce on the barnacles. I’m beginning to look more favourably on the boat. It is still bigger than I intended but good for camping. I can even stretch out in it, if I take my boots off.
Tim Padfield